

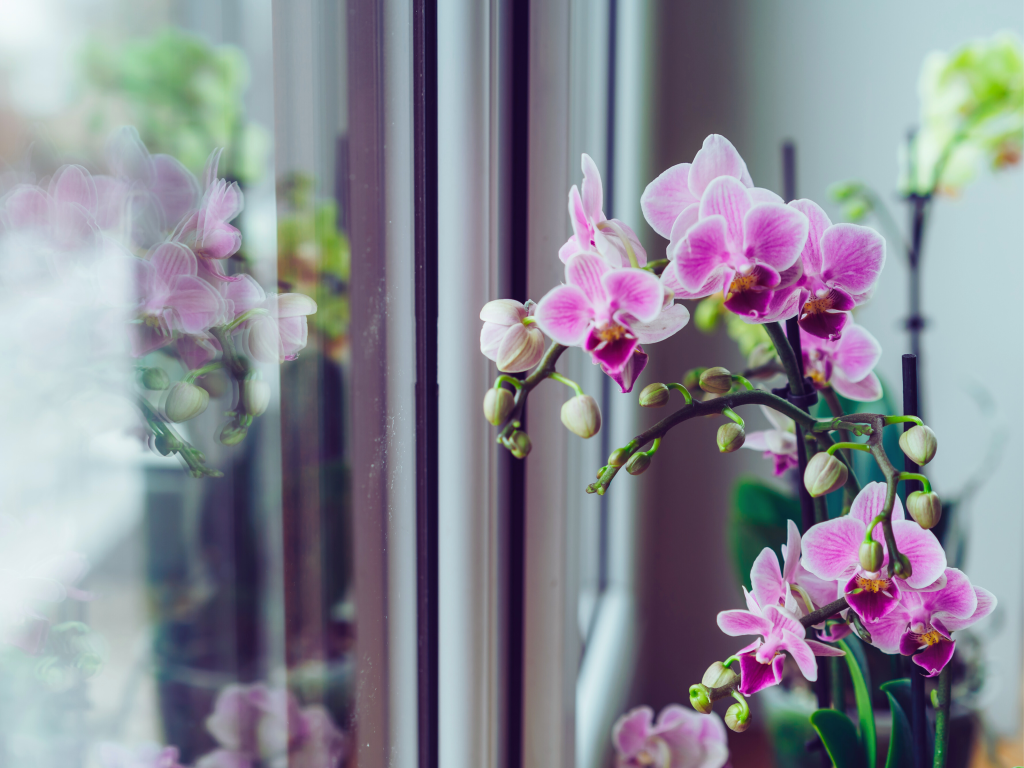
I have been caring for Phalaenopsis Orchids for almost a year now, and am the proud parent of two beautiful Phalaenopsis Orchids. I thought the other day that I should share my experience, tips, mistakes 🫣, and how I go about caring for them on my blog so you can do it right from the start or correct anything you may be doing wrong! Let’s get started!
ANATOMY
Before I get into how to care for your Phalaenopsis Orchid, let’s take a look at their anatomy:

WATERING
Of course, watering your Phalaenopsis Orchid is essential if you want it to survive. One of the popular myths out there is you should use ice cubes🧊 when watering your orchids because it does it slower. But when I tried this method, the ice cubes completely destroyed my orchid’s roots. Watering with filtered water is best, and I do this once a week. Sometimes I feel like pampering my orchids, so I wash off the leaves with some water to flush off any dirt or debris on them. There isn’t much to it, just make sure you stick to a schedule!
SUNLIGHT
If you’re like me and have felt the pressure that you MUST put your plants in the perfect place with the perfect amount of sunlight or else it will die, you get confused (what am I supposed to do and why are there a million different grow lights?!), discouraged (well, I can’t figure it out so I guess I’ll give up…), and even a little irritated (WHY WON’T SOMEONE GIVE JUST ME THE ANSWER IN SIMPLE TERMS!?). I’ve had all of these thoughts, but Phalaenopsis Orchids are generally low-maintenance when it comes to sunlight as all they need is a place that gets some indirect sunlight and they’ll be fine. I also thought I might mention that, if your orchid’s leaves are purple, it means they are getting too much sunlight! (My second orchid currently has purple leaves so I put it on top of my fridge and it’s going away!)
FERTILIZING
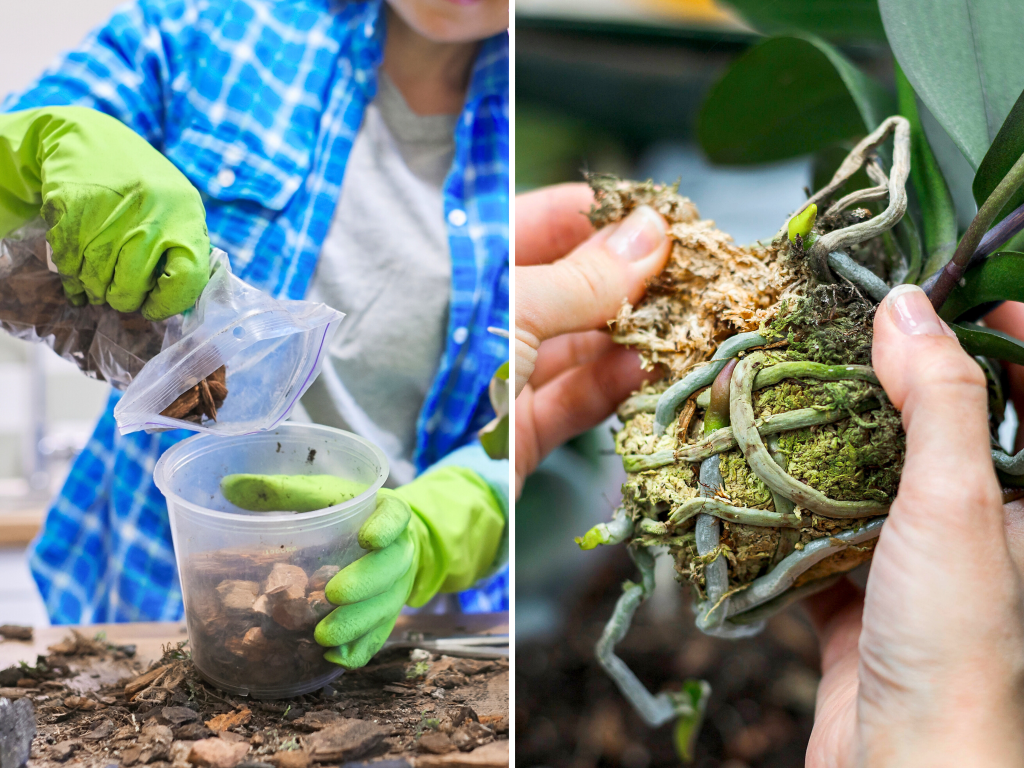
Fertilizing my Phalaenopsis Orchids has definitely helped them with their growth. Since I like to use natural products, we found an amazing substitute for the otherwise toxic fertilizers out there. Want to guess on what it is? I’ll bet you didn’t guess this—worm castings! Before you get grossed out and leave, I have to tell you that it has worked miracles on my orchids! I typically do this every 3-6 weeks by putting a layer over the top of the roots. Then you’re going to go ahead and water the orchid so the fertilizer is spread throughout the whole root system, where they can absorb the nutrients.
SOIL
If you have a Phalaenopsis Orchid right now or are planning on getting one, the soil in which they are in is important. You’ll notice either a) your orchid’s soil consists of bark or b) it is in a spongy, moss soil. If your Phalaenopsis Orchid is in the moss soil, you need to get it out as soon as possible! This is because Phalaenopsis Orchids like airy “soil”, and the moss is very dense so it doesn’t allow good airflow. If you purchased yours from a store, they do this so they don’t have to water it as frequently.

REPLANTING YOUR ORCHID
The second orchid we purchased was in the moss soil, so I know how the replanting process works. You’re first going to want to peel away the moss as best as you can over a bin, outside, or somewhere you’re willing to get messy. Cut off any roots that are dead (you’ll know if they are soft, squishy, and hollow) before putting new potting mix (I used this bark mixture) into the pot (we purchased a new pot for ours, and use this one). Gradually add more as you place your orchid into its pot. It can take some time to get all the roots positioned in the bark just right, so you’ll need some patience! Fertilize and water it after it’s situated.
WHAT TO LOOK FOR WHEN PURCHASING A ORCHID
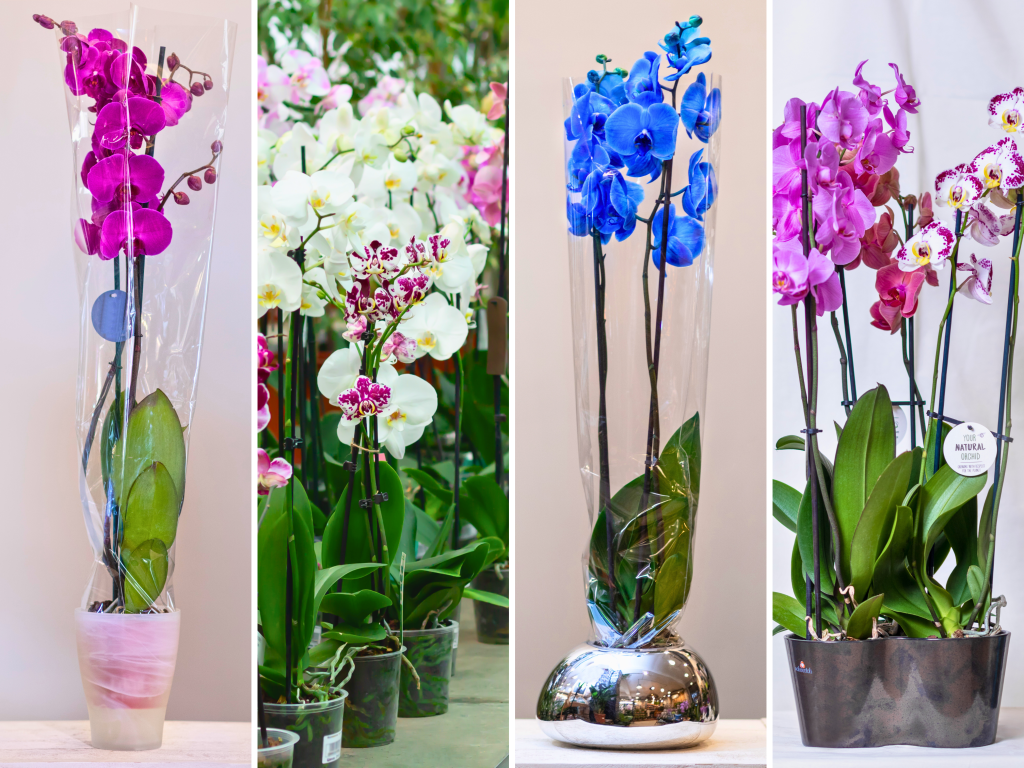
When we got our second orchid, we didn’t know what we were doing and ended up buying it because it was big and pretty, which is exactly what you DON’T WANT TO DO! It definitely had things wrong with it, which we figured out a while after we brought it home. It was in moss soil and another thing we should’ve considered was, although this may not seem like a bad thing, it was way too big! It almost couldn’t stand up straight and practically tipped over multiple times. We then had to cut off a branch of flowers because it was too heavy, which led to one of its leaves dying… So don’t choose one that’s too big. Before you make mistakes like me, you should get one with vibrant, green leaves and one that isn’t infested with bugs, multiple damaged leaves, or rotten/poor roots. (Note: If you ever see a Phalaenopsis Orchid with blue flowers, it is artificially died that color, so it isn’t natural)
Well, there you have it! Everything you need to know about caring for a Phalaenopsis Orchid in one simple post!
Leave a Comment!
Did you learn something new in this post? Do you have a Phalaenopsis Orchid or would like to share some of your tips and tricks? If so, leave a comment below!


Leave a comment